Simple No Knead Potjie Bread Recipe
- 1496
- 0
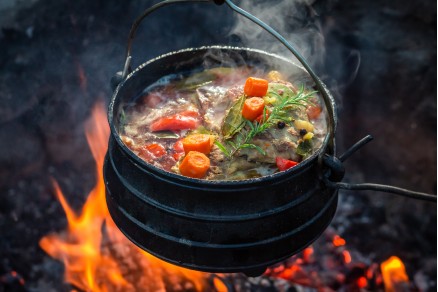
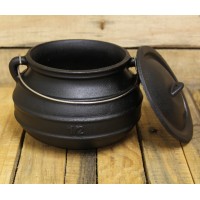
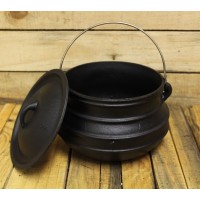
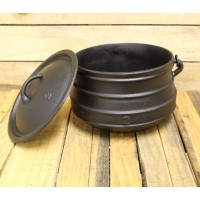
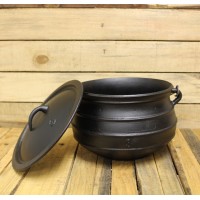
This recipe is deceptively simple and oh so delicious! I mean is anything yummier than freshly baked bread? I don't think so. This is my go-to bread recipe these days and I bake in my home oven in my size 2 flat bottom potjie pot. You can also use a dutch oven or bake over a campfire using one of our traditional potjie pots.
The Easiest Cast Iron No Knead Bread Recipe
3 Cups Flour
1 1/2 teaspoons Coarse or Kosher Salt (I use Himalayan pink salt)
1/2 teaspoons Active Dry Yeast
1 1/2 Cups Lukewarm Water (Check the suggested temperature on your yeast, usually about 100 degrees)
That's it, though experiment with different types of flour (whole wheat makes for a chewier texture for example) and add-ins like minced garlic, onions or herbs, garlic or onion powder, etc.
To make it, all you need to do is combine the dry ingredients together in a large bowl. I use a whisk to make sure it is well combined.
- Add water and mix to combine. Don't overmix! You just want to mix until all dry ingredients are wet.
- Cover with a dish towel and let it rest for 8-24 hours until doubled in size in a warm (not hot!) spot.
- Cut a piece of parchment paper to fit inside your cast iron pot (this will make it safer to add your dough to the pot).
- Remove the paper and preheat your oven and pot and lid to 450 degrees.
- Roll dough onto a floured surface into a ball and put in the center of the parchment paper. Cut small slits into the top of the bread and optionally, brush with egg white mixed with a splash of water.
- Carefully lower your parchment paper and dough into the hot pot (remember it is HOT so be careful!)
- Put the lid on the pot and bake for 30 minutes. Thumping the center of the bread should give a solid, deep thud.
- Remove the lid from the pot and cook an additional 7-10 minutes until your bread is golden brown.
- Remove from oven and carefully transfer your beautiful bread out by the parchment paper onto a cooling rack (leaving it in the pot can overbake your bread)
- Allow to cool slightly before slicing.
Related Posts
Traditional African Potjie (Stew)
- 911
- 4
This traditional potjiekos recipe is sure to become your favorite recipe and you can easily make it yours by changing the ingredients.


